
Add charm to your windows with shutters!
Adding window shutters to the exterior of your home adds an element of beauty to your home. They are pretty simple to build, affordable to buy, and provide a fresh look to your house. Whether you create them from scratch or buy them, window shutters have options and styles that suit any home. Not only to they look good, exterior shutters have many additional perks, like offering an extra layer of protection to your windows, keeping your home safe during storms.
Window shutters come in various designs and styles. So, before you start building or shopping for shutters, let us review all the options available in outdoor shutters for windows.
Louvered Shutters
 Source: Louvered Shutters
Louvered shutters are one of the favorite styles among window shutters. They are built from even and overlapping slats lined up into a frame parted by a center guide rail that gives it a traditional look. The size of the slats can be chosen to suit your preference. When closed these slats block the light from entering the room while letting the air pass through, and when open they give your home’s exterior windows an attractive frame.
Raised Panel Shutters
 Source: Raised Panel Shutters
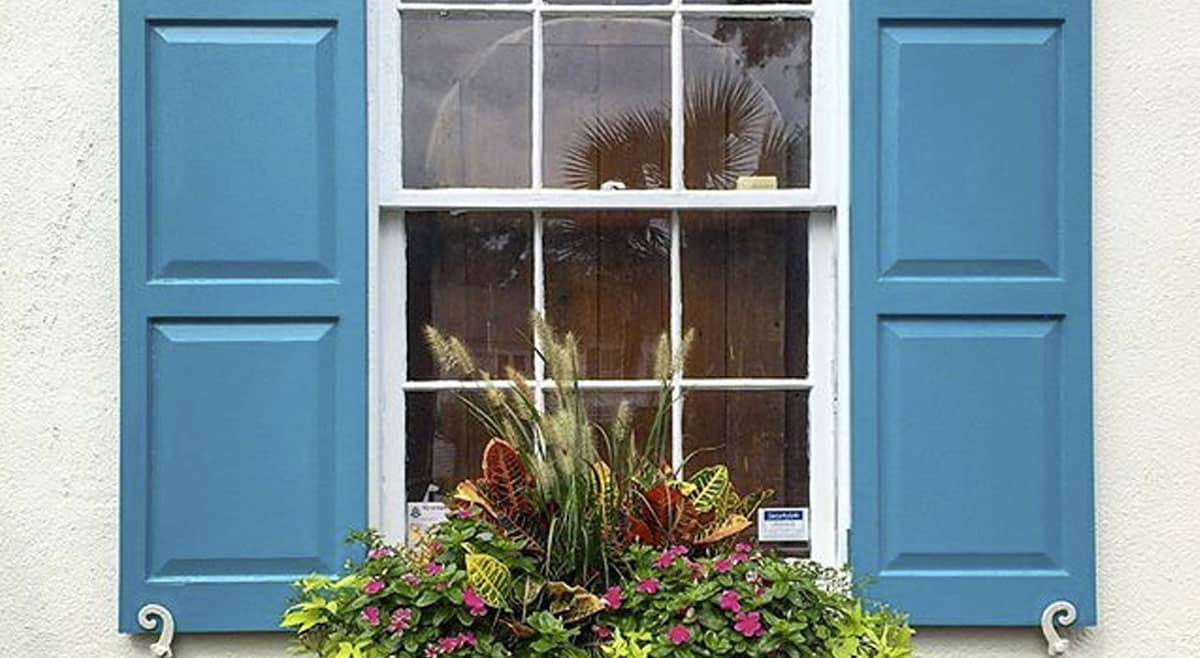
The raised panel shutters give an appealing look to the house. As their name implies, they have a raised panel in their structure, and they actually resemble a wooden door. When closed this design totally blocks the outer sunlight, which makes them an excellent pick for the summer season.
If you are a plant lover, raised panel shutters are ideal for you. Window boxes attached to a raised panel shutter give an authentic look to a Cape Cod or Colonial-style home.
Board and Batten Shutters
Source: Board and Batten Shutters
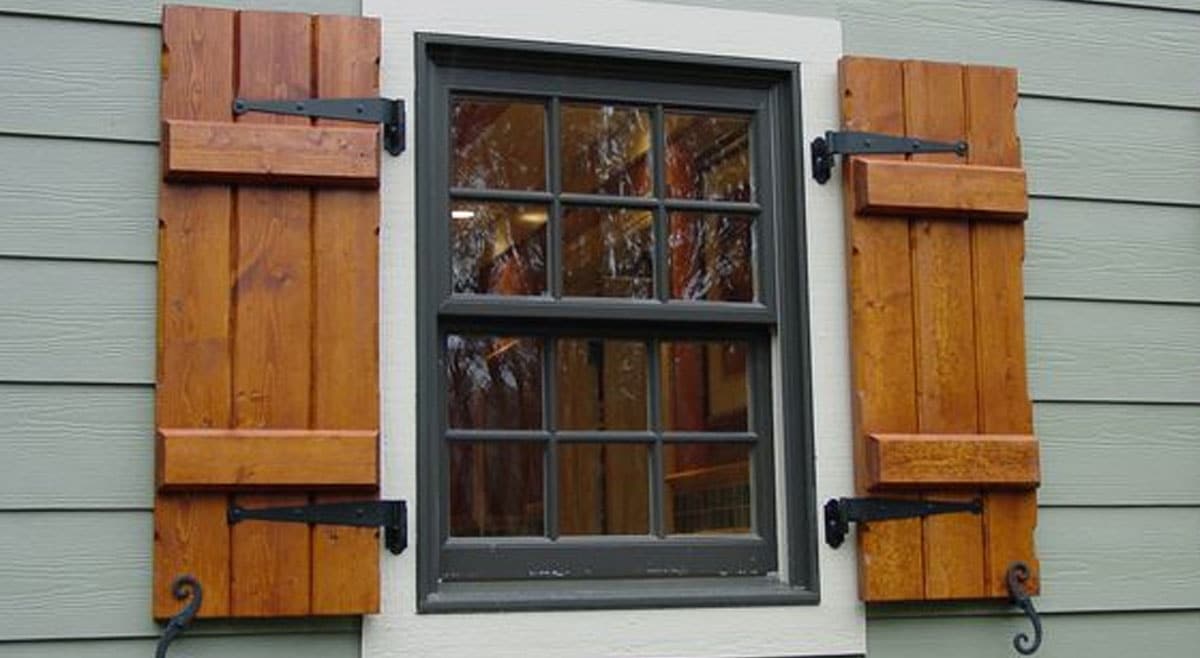
Board and batten shutters are among the most versatile shutter styles that complement a traditional home exterior. They are built from several individual vertical boards linked together by shorter horizontal pieces of woods or battens. These battens are fixed on both sides and meet in the middle when the shutter is closed.
Even though the board and batten shutters’ design might appear pretty simple, these shutters are very durable.
Plantation Shutters
 Source: U.S. Verticals Plantation Shutters
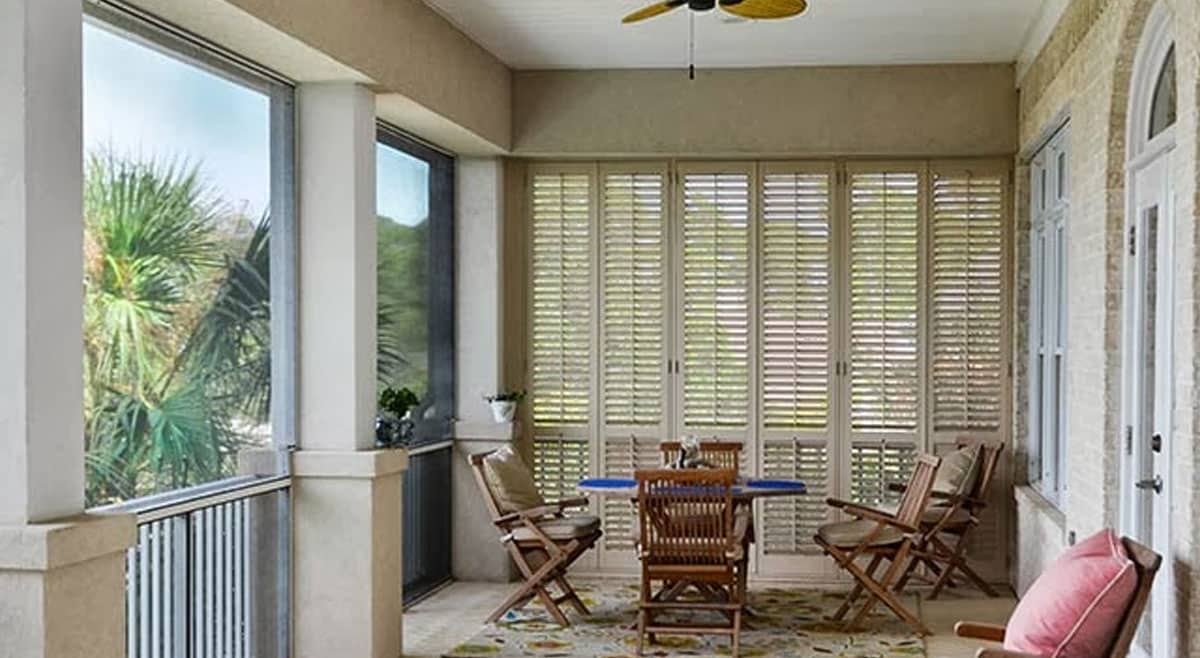
Plantation shutters are a modern window covering offering privacy, sun protection, and style to your home. This style is preferred for its easy maintenance and superior look.
The crucial thing about these shutters is that the slats are flexible, which allows you to decide the amount of light entering your room. As the slats are adjustable, you can close them in stormy weather and also enjoy the fresh and energetic breeze of the morning. The slats are available in different materials. Plantation shutters are in high demand today, though you also see them on historic homes found in New Orleans and Key West.
Cut-Out Shutters
 Source: Cut-out Shutters
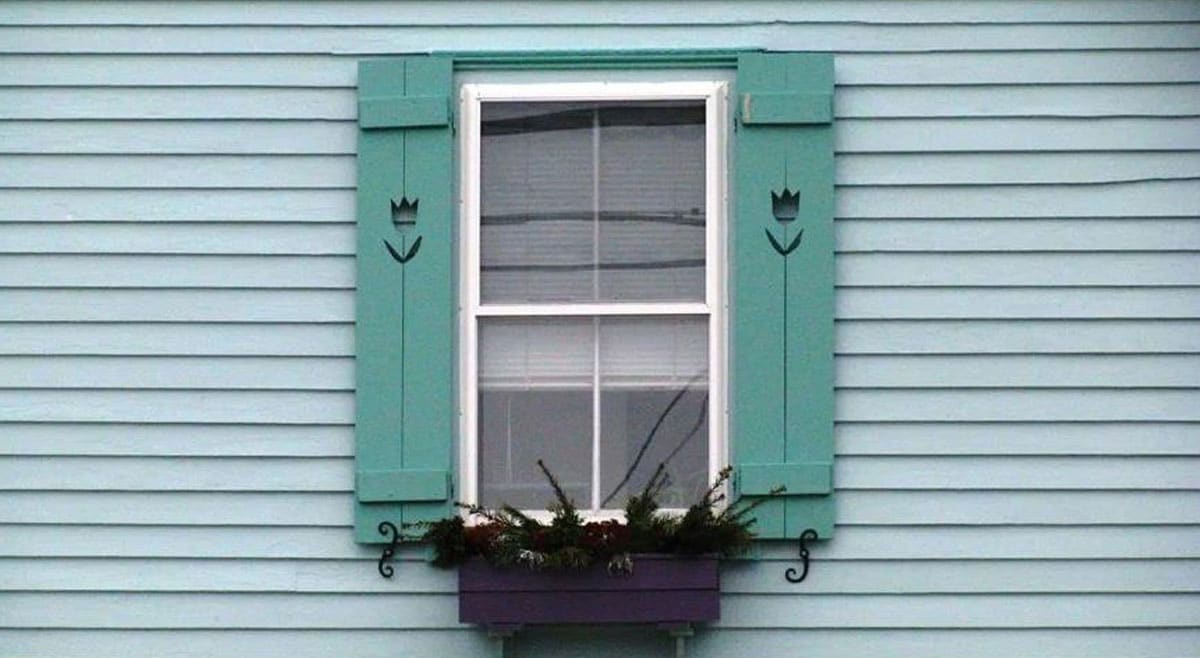
One of the styles which became very popular in the 1920s is the cut-out shutters. They come with a cut-out design. The impressive characteristic of the cut-out designs is their flexible design. The cut-outs in these shutters are available in many different shapes so you can make a choice, according to your taste. Cut-out shutters are purely decorative; otherwise, they are just a plain shutter and not very functional.
Hurricane Shutters
Hurricane shutters are explicitly built to prevent the windows from breaking during a hurricane or other major weather event because of flying trash, violent winds, heavy rainfall or hail. They are usually built of a panel to guard the entire window. They can be made from various materials, including fabric, steel, aluminum, plywood, etc.
Scandinavian Shutters
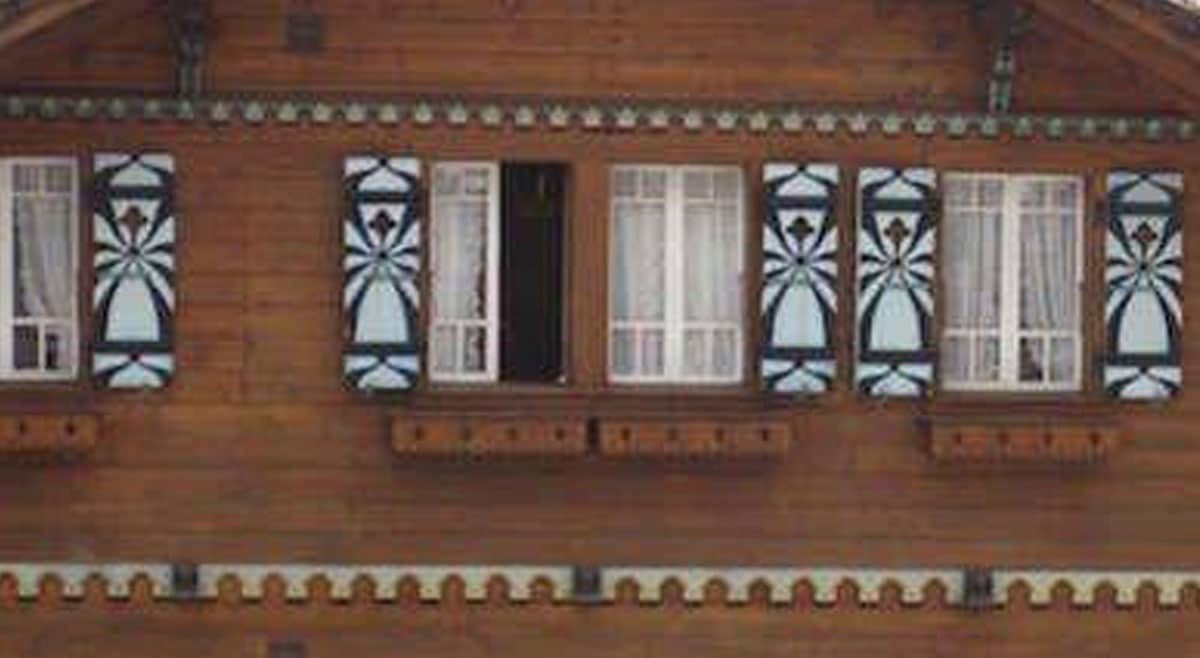 Source: Scandinavian Shutter
Scandinavian shutters are beautiful, unique and rarely seen. These shutter designs somewhat resemble both cut-out shutters and board and batten shutters. Their structure is like board and batten shutters, which makes them long-lasting. However, their decorative elaborate designs make them like cut-out shutters. Scandinavian shutters are available in many cut-out designs and bright colors, which makes a unique decor element and can add personality to a home’s exterior.
Bahamas Shutters
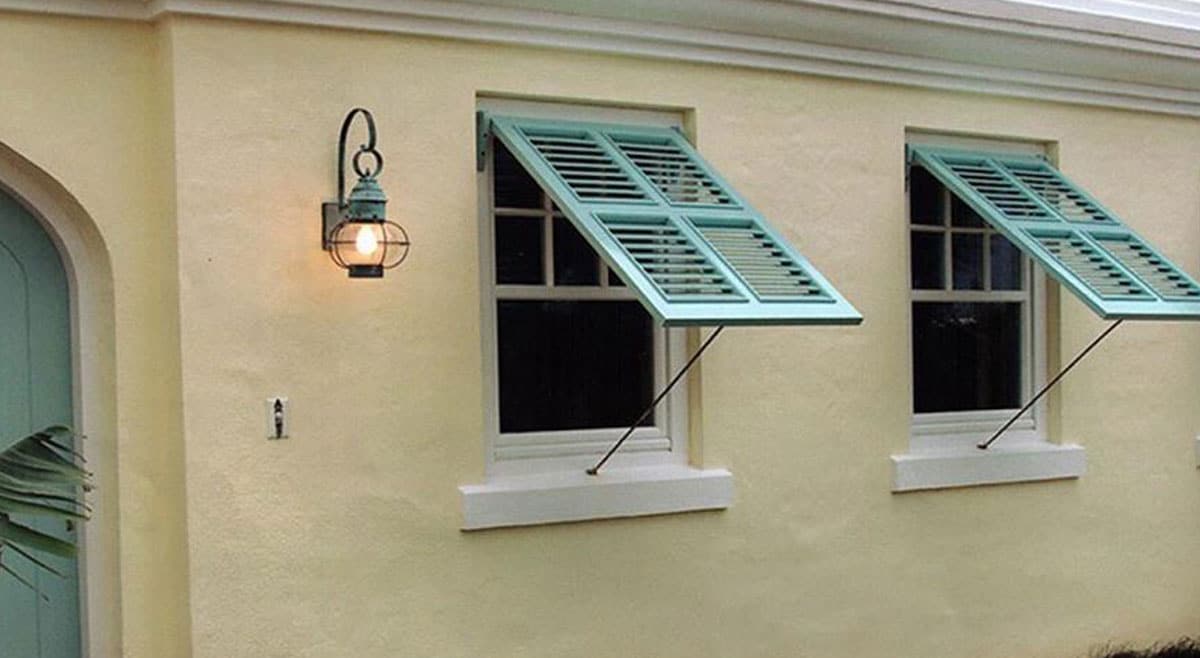 Source: Bahamas Shutters
Bahamas shutters are identical to louvered shutters as they have similar slats that prevent the light and wind. Rather than connected to the joints at the sides, Bahama shutters are fixed at the top of the window. They are opened and closed by pushing them out and pulling them in, respectively.
These shutters are sturdy and close instantly, especially in case of powerful winds. Their durability and ease of use are why they are so often seen in tropical regions that face both the blazing sun as well as storms.
Installing Exterior Shutters
Adding shutters to your windows can boost the curb appeal of your house in no time. Window shutters not only look great, but they are also pretty straightforward to install. To begin installing exterior window shutters, start with gathering needed tools and materials.
- Window Shutters
- Screws
- Level
- Drill
- Ladder
- Paint for touch up
Remember: Additional tools and materials may be required as per your shutter style and window location.
Following are the steps for exterior shutter installation:
When choosing the shutters for your home, size matters. The wrong size shutters can ruin the look of your windows, so check the shutters visually against your home’s exterior before installing. Then carefully measure and mark for installation and install your shutters.
Follow these steps:
- Temporarily hold one shutter in the position where it is to be installed. Line it up next to your window and adjust it a bit where it seems the best.
- After holding the shutters in the precise position, mark the position of your screws from the screw holes of the shutter with a pen or pencil.
- NOTE: If your shutter does not contain the screw holes, remove it after marking the screw position and place it horizontally on a table or sawhorses. Now, use a drill and dig four or six holes on each side of the shutter as marked.
- Drill some pilot holes on the marked positions of the screw holes.
- Now put up the shutter with the screws this time but do not tighten them.
- With the help of a level, check the edge of the shutter and adjust the final position. Now, tighten the screws.
- NOTE: If the screws do not tighten down firmly, put some anchors or plugs to tighten them.
Repeat the process for the other shutter, and you’re done. Give yourself a pat on your back!
Additional Tips:
- Be careful while installing the shutters on heights with ladders.
- Wear a tool belt for your safety when you go up for work.
- Please ensure the shutters are secured properly because they need to stay in place during powerful winds and storms.
- For heavy shutters, use three-inch stainless-steel screws with a star driver head.


0 comments:
Post a Comment